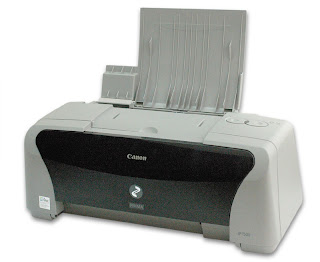
There is no need for a Software download of General Tools for the Pixma 1500 in these methods. The software links for General Tools seem to be dead.
 1st Method
1. Turn off the printer. And disconnect the printer cable.
2. Press and hold the POWER button, turn on the printer.
3. The indicator LED should be green.
4. Press and release the RESUME button , the indicator LED should be orange.
5. Press and release the RESUME button again, the indicator LED should be green.
2nd Method
1. Unplug the power & printer cables.
2. Press & hold the POWER button.
3. Plug POWER cable back in while still pressing power button.
4. The LED should be green.
5. Press & release the RESUME button 4 times to reset the "waste ink tank counter" while still holding the power button.
6. Release both the POWER & RESUME on the 4th push of RESUME.
Troubleshooting:
If indeed the waste absorbers are full, you will need to take them out, wash them, and place them back into the Pixma 1500.
1. Open the the front door, hopefully the tanks slide to the left out from under the plastic enclosure on the right. If not, reset the Pixma by unplugging, holding the power button down, and then plugging in the Pixma with the power button held down. Release and push the power button to turn on the Pixma, this time when opening the front door, the tanks should slide to the left out of the plastic enclosure on the right.
2. The absorbers are on the floor of the inside of the Pixma, on the right, below the plastic enclosure where the tanks usually rest when it is in idle. It consists of 2 plasticky pieces, each slightly smaller than a Trident gum piece, with one slightly bigger than the other. They are held in place by a rubber gasket. When you see them, they will be black, covered with wet ink. Pry them out by the edges from the rubber gasket, your fingers will be stained with ink.
3. Wash the 2 absorbers, you will discover that the original color of the absorbers is white. Dry them.
4. Take tissue and dab the area where the rubber gasket is, to absorb the remaining ink.
5. Replace the 2 white absorbers back into the rubber gaskets, minding to place the correct size absorber in the correct portion of the gasket.
6. Close the cover, and the green power light should be solid and ready to go.
No comments:
Post a Comment